I have said before to small and large groups who would listen, and I say again: "Photos lie." This is not meant to disparage photography, which can operate very well as an art form in the hands of a capable and experienced photographer. But for the "great unwashed" (including myself) who have gotten our hands on a camera and use it to record impressions of the world around us, it's important to know its limitations.
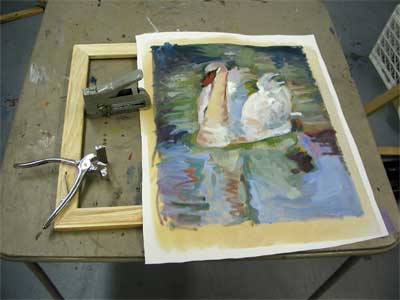
The picture inserted here of two small children on a beach is something I've worked on entirely from a photocopy of a photo. I started the painting on an unstretched canvas in acrylic and I'm now working over the initial acrylic in oil to enhance the small subtle details.
I recently received a publication put out by Golden Acrylic Colors which contains some substantiating information. I quote below.
"Acrylic paints can be used to create colorful and detailed surfaces on which to add a digital print. This method works around the color-gamut limitations inherent in digital printing, which ultimately still relies on a four-color CMYK process. For example, even newer 6 color systems like Epson’s Ultrachrome™ inks, create expanded ink sets by merely adding transparent versions of Cyan, Magenta, and different Blacks to the base selection. Acrylics, on the other hand, have access to hundreds of individual pigments that can be further modified with Gels and Mediums to generate any degree of translucency you might desire. This provides you with a tremendous amount of control and leaves a significant range of colors, including the special effects of GOLDEN Iridescent and Interference paints, beyond the reach of printing inks alone. The same is true with texture, where you can use acrylic Gels, Mediums and Pastes to produce a wide variety of surfaces that impart a tactile presence not easily achieved by other means."
Many of my current students are using acrylics, and for them I recommend looking the above publication on-line fully. It covers some of the capabilities of Acrylics.
But more generally, and on the theme of "photography lies" I would like to point out that the "gamut" or range of color used in photographs is limited by the inks used to produce them. Those inks are limited by the printing process. Many of you now own inkjet printers and you know that if you want to print out a color print, you have to have four colors (or a maximum of 6 in the newer printers): cyan, magenta, yellow and black. Any color in the scene you are capturing by camera will be normalized to fit some mixture of the three colors and black that your printer contains.
Any artist knows, however, that, unless you choose to paint with a limited palette, you have a much larger variety of colors available. And, in your original paintings (whether it is in acrylic, oil, watercolor, pastel) you have the ability to use this wide range of colors to either duplicate the "reality" that you see in nature or create your own vision.
 In addition, acrylics have a wide range of auxillary capabilities: (iridescents, interference colors, textures and pastes) that the photographic or printing field is currently totally unable to capture. (You can see more about this in the above-referenced publication or get on a mailing list to receive the Just Paint newsletter by going to Golden Acrylics homepage and filling out the e-form located in "What's New.")
As a last note, however, although it is frequently practical to work from photos when learning or practicing the art of painting, keep in mind that the information contained in a photo is severely limited. Therefore, my advice is: (1) when possible, whether painting a scene, a still life or a portrait, paint from the thing itself; (2) when working from photos, take your own reference photos and remember that even they lie and; (3) keep in mind that the "reality" of your art is yours to create.